What makes Screw Box different?
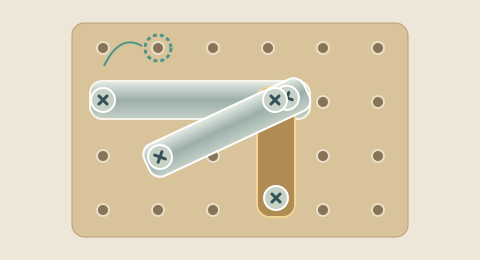
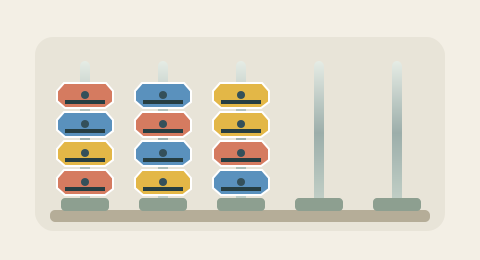
In Screw Box, a trio is not automatically a match. Three coral screws collected while neither open box wants coral still need somewhere to wait. That makes the order queue an active part of the puzzle. You are deciding both which panel to uncover and which container to complete. Screw Jam, by comparison, clears any completed color trio in its shared buffer. Screw Sort moves nuts between rods, and Screw Puzzle moves supports between mounting holes. Choose Box when you enjoy planning around changing requests rather than simply spotting three matching objects. The two open containers provide your immediate goals; the layered panels explain why reaching those goals may require a detour.
Read the workbench before the first click
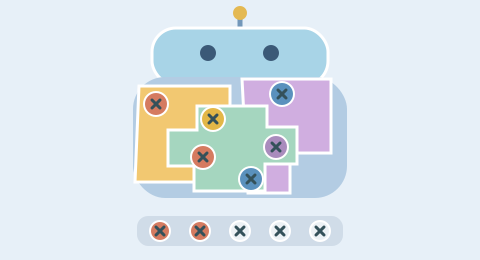
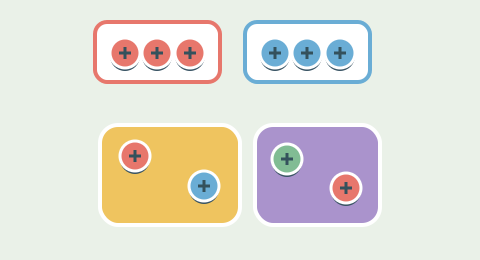
The workbench separates three kinds of information. The open boxes show colors that can accept screws immediately. Each box has three sockets, so you can see how close it is to completion. The round slots below them are temporary storage for unmatched screws. The panels beneath hold the screws that remain on the board. Only screws on the currently exposed panel in a stack can move. Faint panels behind it suggest what will become accessible after that layer clears; they are not extra clickable targets. A panel color is decorative and does not determine the color of its screws. Look at the screw head and symbol when choosing a match.
How boxes, waiting screws and new orders interact
A matching screw enters an open box instead of taking a temporary slot. When its third socket fills, that order is complete and another order can replace it. Screws already waiting in temporary storage are then checked against the open boxes. A newly opened order can therefore recover space without another board click. If both open boxes request the same color, the game fills an eligible box in its displayed order. You do not need to drag a screw between boxes. Watch the result before choosing again: finishing one container can change which colors are useful next. A filled buffer is evaluated after this automatic settling, so screws that can enter a new box are not incorrectly counted as stranded.
Layered panels and the value of an awkward screw
Removing the easiest matching screw is often useful, but the panel underneath also matters. One stack may have two useful screws and a third color that must wait. Clearing that awkward screw can expose a panel containing the missing color for your current order. The cost is a temporary slot; the benefit is access. Before taking that trade, count the space you will have left and inspect the other exposed panels. If another stack can complete a box without using storage, that may be the safer opening. The game never asks you to click a screw through a plate. Lower layers become active only after all remaining screws on their covering panel have been removed.
Level 1: learn the packing rhythm
The first level is a compact introduction with fewer colors, fewer screws and more temporary room. Begin with a color requested by an open box and watch one socket fill. Then collect the remaining screws needed for that order and notice the replacement box. If a screw has no matching destination, compare the temporary row before and after the move. The lesson is not to memorize a fixed list of colors: seeds can change the arrangement. Learn the sequence of decisions instead—read the orders, find an exposed match, check the panel you would uncover, and preserve space. When the workbench is empty, the celebration confirms that every order and waiting screw has also been resolved.
Level 2: a longer order problem
The expert layout contains 216 screws across six panel stacks, seven possible screw colors and five temporary slots before Rescue. The extra depth increases the number of decisions, but the rules remain the same. You can enter this level directly; there is no progression map to unlock first. Each generated layout includes a complete legal construction route checked by the rules. That does not mean every sequence will work. The useful challenge is finding a continuation after your own choices. We do not advertise a measured one-percent success rate: the difficulty target still needs player testing. There is no countdown, so take time to compare stacks rather than racing the interface.
A practical decision checklist
First, identify boxes that need only one screw. Finishing one may be more valuable than starting progress in the other. Second, look for a panel that is almost empty and ask what clearing it costs. Third, count unmatched colors already waiting. A color that has no current box should be treated as stored work, not as a guaranteed future escape. Finally, consider whether the next click leaves you with alternatives. A temporary slot is most valuable when it lets you reach a specific screw or finish a specific order. Spending slots merely because a screw is exposed can turn a flexible opening into a blocked position.
Recovering from a full buffer
If temporary storage fills after the box queue has settled, the run ends. The red result panel explains the block and offers another attempt. Retry reconstructs the same versioned seed, letting you test a different ordering decision. New layout creates a different arrangement. The Level 2 Rescue adds one temporary slot and can be used once, including after this kind of loss. It gives you working room, not a promise of a solution. Undo restores the state before your preceding screw removal, including its boxes and waiting colors. These helpers have separate once-per-run limits. Cancelling a Rescue confirmation leaves the board and its allowance unchanged.
Controls, saved layouts and honest rewards
Tap or click an exposed screw. Keyboard users can Tab to a target and activate it with Enter or Space. Pause leaves the board in place; Help explains the rules without restarting. The game stores its seed and action log in this browser when storage is available, and a return visit can restore that local attempt. Share copies a layout link, not somebody else’s completed moves. Signed-in runs use your account helper inventory and award 2 Points for a verified Level 1 clear or 10 for Level 2. Guests can play Level 1 without helpers or account Points. Level 2 and all helpers require sign-in. No video advertisement is required to retry, and there is no simulated video-reward button.
Make your next attempt more useful
After a loss, keep the same layout once and identify the first temporary screw you collected without a clear purpose. Try changing that decision rather than changing every move at random. Compare which box opens and whether the waiting row empties sooner. If a Hint search cannot establish a complete safe continuation within its budget, the game leaves the Hint unspent and says so. That is different from proving the position impossible. A useful practice session can be short: learn one relationship between a panel and an order, then return later with a fresh approach. The aim is a readable puzzle that rewards planning, not a requirement to pay for another try.
A worked example: two unfinished orders
Suppose the coral box needs one screw and the blue box needs two. A coral screw is exposed on one stack, while another stack has a blue screw above a panel you want to reach. Completing coral first may open an order that accepts a color already waiting in storage. Taking blue first may expose the useful lower panel sooner. Neither option can be judged from color alone: compare the waiting row, the remaining screws on each panel and how much temporary space either sequence leaves. This is why a good move often has two purposes—advancing an order and improving access.
Screw Box FAQ
Is Screw Box the same as Screw Jam?+
No. Box accepts colors requested by its open orders. Jam clears any completed trio in a shared buffer. Three waiting screws do not clear in Box unless their order is available.
How many levels are there?+
Two: a compact teaching level and a longer expert level. Both are available without completing a progression map.
What happens to an unmatched screw?+
It waits in a temporary slot. When a matching order opens, waiting screws can enter it automatically.
Can I tap a covered screw?+
No. Clear every screw on the exposed panel in that stack to reach the next panel.
When do I lose?+
The run ends if the temporary row fills after completed boxes and waiting matches have settled.
Does Rescue work after losing?+
The Level 2 Rescue adds one slot once per run, including after a full-buffer loss. It does not guarantee that the remaining position is solvable.
Does this mode spend my purchased tools?+
Signed-in runs spend one item from your account inventory for each helper use. Guests can play Level 1 without helpers or account Points. Level 2 and all helpers require sign-in.
Can a friend play the same arrangement?+
Yes. Share copies a link with the mode, level, seed and version. It reproduces the starting layout, not your move history.
Is Level 2 proven to have a one-percent pass rate?+
No. It is designed as an expert challenge, but a human completion rate requires representative player testing.
What if a Hint cannot find a route?+
The Hint stays available. A bounded search that finds no continuation does not establish that the position is impossible.